
What to Do After a Pipe Leak: A Casper Homeowner’s Restoration Checklist
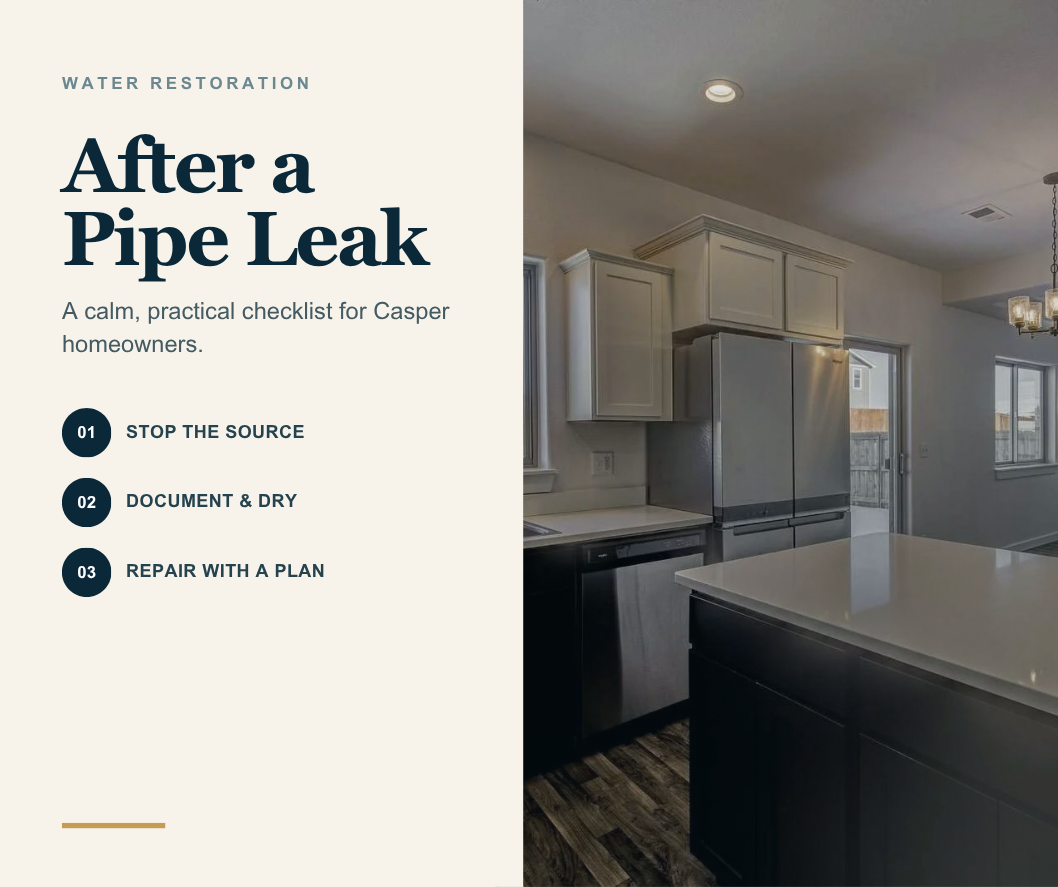
A calm, practical response plan from shutoff to reconstruction
A Pipe Leak Requires More Than a Quick Cleanup
A leaking supply line, failed appliance connection, frozen pipe, or hidden plumbing break can release a surprising amount of water into a Casper home. The visible puddle is only part of the problem. Water can move beneath flooring, behind baseboards, into wall cavities, through insulation, and along framing before the full extent of the damage becomes obvious.
The safest response is organized and documented: protect people first, stop the source when it is safe, limit additional damage, record conditions, and begin professional assessment and drying promptly. Use this checklist to guide the first hours and the restoration work that follows.
1. Confirm That the Area Is Safe
Do not enter standing water when electrical equipment, outlets, extension cords, appliances, or the service panel may be involved. Avoid rooms with sagging ceilings, falling materials, strong odors, sewage, or visible structural movement. Keep children and pets away from the affected area.
If water is near electrical equipment, if the source is contaminated, or if you are unsure whether the building is safe, leave the area and contact the appropriate emergency, utility, plumbing, or restoration professional. Do not operate switches in a wet room.
2. Stop the Water Source—Only If It Is Safe
For a clean-water plumbing leak, close the nearest fixture shutoff or the home’s main water valve if you can reach it safely and know how it operates. If the leak involves a water heater, boiler, fire-suppression system, well equipment, sewer backup, or damaged service line, professional help may be needed.
Once the flow has stopped, do not assume the problem is solved. The failed pipe or connection must be identified and repaired, and water that entered the building must be located and removed.
3. Document Conditions Before Moving Materials
Take wide photographs of every affected room, then closer photos of the source, water lines, damaged finishes, belongings, and any visible path the water followed. Record when the leak was discovered, when the source was stopped, and who was contacted.
Save damaged parts when appropriate, along with estimates, invoices, receipts, moisture records, and written communications. If an insurance claim may be involved, ask the carrier what documentation is required and whether an adjuster needs to inspect before non-emergency materials are removed. Coverage decisions belong to the insurer and policy.
4. Protect Belongings and Unaffected Areas
Move dry, portable belongings away from the wet area when doing so is safe. Place furniture legs on protective blocks or foil if minor clean water has reached flooring. Avoid carrying wet debris through unaffected rooms without a controlled route.
Professional containment may be appropriate when water is contaminated, demolition is required, mold is visible, or dust and debris could spread. The goal is to limit cross-contamination while keeping safe access for assessment and drying.
5. Remove Water and Begin Controlled Drying
Standing water should be extracted promptly with equipment suited to the volume and water category. Towels and household fans may help with a very small, clean-water event, but they do not confirm that subfloors, wall cavities, insulation, or cabinets are dry.
A professional drying plan may use extraction, air movement, dehumidification, temperature control, and moisture measurement. Equipment placement and operating time should respond to actual readings rather than a fixed number of days.
Avoid directing high-powered fans across sewage, visible mold, or contaminated materials. Air movement can spread contaminants when the area has not been evaluated and contained.
6. Check for Hidden Moisture
Water often travels farther than the visible stain. Common places to inspect include:
Under carpet pad, floating flooring, and transitions
Behind baseboards, drywall, and lower cabinets
Inside exterior walls and insulation
Around plumbing penetrations and floor openings
Below bathrooms, kitchens, laundry rooms, and mechanical spaces
At subfloor seams, wall plates, and adjacent rooms
Moisture meters, thermal imaging used with verification, and targeted openings can help define the affected area. The purpose is to understand where water went—not to remove more material than necessary.
7. Decide What Can Be Dried, Cleaned, or Removed
Material decisions depend on the water source, exposure time, material type, condition, and whether the assembly can be accessed and dried. Nonporous surfaces may often be cleaned. Some solid wood and framing can be dried when conditions are appropriate. Saturated insulation, damaged drywall, swollen composite cabinets, delaminated flooring, or materials exposed to contaminated water may require removal.
A written scope should identify the affected materials, explain the proposed treatment, and distinguish emergency mitigation from permanent reconstruction.
8. Correct the Cause Before Rebuilding
New finishes should not conceal an unresolved leak, damaged valve, poor connection, drainage problem, condensation issue, or freezing risk. Confirm that the plumbing repair is complete and that affected assemblies have reached appropriate dry conditions before insulation, drywall, cabinets, or flooring are installed.
In a cold climate, the repair plan should also consider why the failure occurred. A frozen line may point to missing insulation, air leakage, an exposed route, or inadequate heat—not merely a failed section of pipe.
9. Build a Clear Reconstruction Scope
Once the area is safe, clean, and dry, the restoration moves into repair. The scope may include framing, insulation, drywall, texture, paint, flooring, cabinets, trim, electrical work, plumbing, and finish installation.
Ask for a written plan that identifies quantities, material assumptions, allowances, permit needs, inspections, sequencing, and responsibility for coordinating trades. Photograph hidden conditions before walls and floors are closed.
What Not to Do After a Pipe Leak
Do not enter water when electrical hazards may be present.
Do not treat sewage or unknown water as clean water.
Do not cover stains or reinstall finishes before verifying dryness.
Do not discard documentation, failed parts, receipts, or damaged materials too quickly.
Do not assume a room is dry because the surface feels dry.
Do not rely on odor-masking products instead of correcting moisture and contamination.
Questions to Ask a Restoration Contractor
How will the affected area and water source be documented?
How will hidden moisture be located and monitored?
What materials can be restored, and what needs removal?
How will occupied rooms and belongings be protected?
Who coordinates plumbing repairs, specialty testing, permits, and reconstruction?
What records will be provided before the area is closed?
How will scope changes be photographed and approved?
Frequently Asked Questions
How quickly should drying begin?
As soon as the area is safe and the source is controlled. Prompt extraction and assessment can limit additional damage, but the response method must match the water source and hazards.
Can I dry a pipe leak with household fans?
A very small clean-water spill on accessible, nonporous surfaces may be manageable. If water reached porous materials, wall cavities, cabinets, insulation, or lower levels, professional moisture assessment is a safer way to determine the real extent.
Does every wet wall need to be removed?
No. Removal decisions should be based on contamination, material condition, access, and measured drying progress. Some assemblies can be dried; others cannot be cleaned or dried reliably.
When can repairs begin?
Permanent repairs should begin after the source is corrected, unsafe or unsalvageable materials are addressed, and affected assemblies are verified as ready for reconstruction.
From Water Mitigation to Durable Repair
A good restoration process does not stop when the floor looks dry. It follows the water, measures conditions, corrects the source, documents decisions, and rebuilds only when the structure is ready.
For prompt help with water mitigation and restoration in Casper, contact Skyline Construction. Our team can help assess the repair scope, coordinate reconstruction, and create a practical path from damage control to a finished home.
Skyline Construction LLC
259 S Center, Ste 201, Casper, WY 82601
Phone: (307) 225-9399
Email: info@skyline307.com
Website: https://www.skyline307.com/